Since the mid-2000s, alternative programming has grown immensely in popularity amongst younger demographics. The invention of Youtube, DailyMotion, and Twitch has made content creation and hosting possible for just about anyone with a camera and an internet connection. At that time, online content creation was viewed as amateur work that niche pockets of creators would work on during their free time.
Fast forward to today, and online content, social media content, and live streams all pull in millions upon millions of views a day. Live streaming can be a full-time job. Over time, the content on these platforms has become more polished and is beginning to appeal to the masses.
The COVID-19 pandemic truly cemented live-streaming on Youtube or Twitch. Before, live streaming was almost solely used by gamers, but due to many of the physical and mental impacts of the pandemic, more people took to live streaming as a way to express themselves and communicate with the outside world.
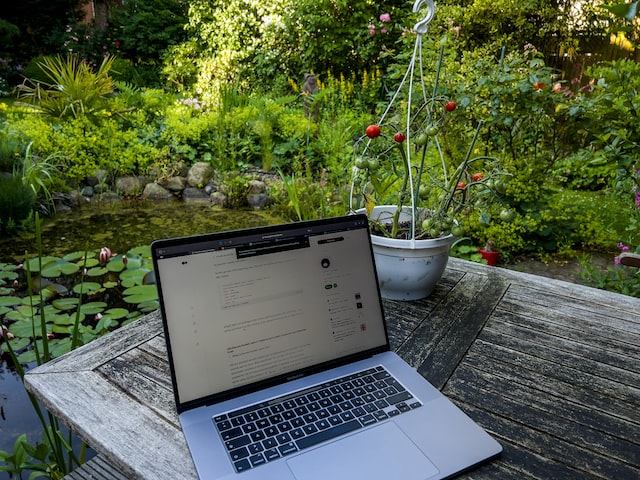
As live streaming becomes more and more mainstream, you may be thinking about trying to stream some content yourself. Like anything else, you’ll need to put some time and effort into live streaming if you want to have fun or be successful. Far too many people think that you can just buy a tripod for your phone and get to streaming. The reality is, just like any other content, a lot of work and preparation will need to go into creating a good live stream. Whether you live in a cozy Seattle apartment or a condo in Orlando, you’re sure to find some great tips to get you started. Check out great tips on 12 Tips to Create the Perfect Streaming Room in an Apartment.
If you’re interested in getting into creating live content but don’t know where to start, you’re in luck! We’re here to help you get started on your journey. Before you can start streaming, you need to have the technical ability to be able to. So first, let’s jump into how to create the ultimate streaming setup, at home.
 1. Choose a Room to Stream From
The first thing you’ll need to do when getting ready to stream is to choose a space you think would be good to stream from. When choosing your streaming room, try to think about how much space you will need, what the backdrop is going to look like, and how private the room is if you live with others.
In this early stage, you don’t need to have all of the logistics of your streaming room figured out yet, just having an idea of where you’re going to stream is good enough. Further down the piece, we will get more into how to decorate the room and how to make it technically compatible with streaming.
When looking at a room try to think about some basic issues you could run into. Is it an open room? How tall are the ceilings? What are the walls made of? These are all things that will heavily affect your streaming experience. For example, if you stream in your basement and have unfinished concrete walls, you’re going to have a lot of interfering audio as they’re bad at noise dampening.
For most streaming situations, a closed-off room that is about 11’ x 12’ with lower ceilings and minimal windows is best. Some of the most popular places to look around your house for potential streaming rooms are your bedroom, a spare office, a finished basement, or a finished garage. Remember, as you start streaming, fans and viewers will become familiar with your setup, so try to choose a room you think you could stream in for at least a few years.
2. Buy a Camera and Microphone
As mentioned before, you cannot go into live streaming thinking that an old 2013 Macbook with your smartphone camera and beats headphones are going to be sufficient. At any given time on Twitch, there are an estimated 100,000 streams going on. That means if your content doesn’t look as good as the thousands of others, then you could be losing out on viewers.
To guarantee that your stream looks great and sounds great too, you should do some research on the camera and studio microphone market. When you’re just starting out, having the most expensive setup isn’t necessary. Instead, take time to read through reviews and try to find a camera and microphone that is right in the middle of the road for value and quality. As your audience grows over time you can purchase newer, better equipment.
When looking at cameras, be familiar with the main types of cameras available to use for live streaming.
- Phone Camera – If you’re really on a budget, then a smart device that has an integrated camera may be your only option. Just know, the quality of your footage and the longevity of your device could be compromised in this setting.
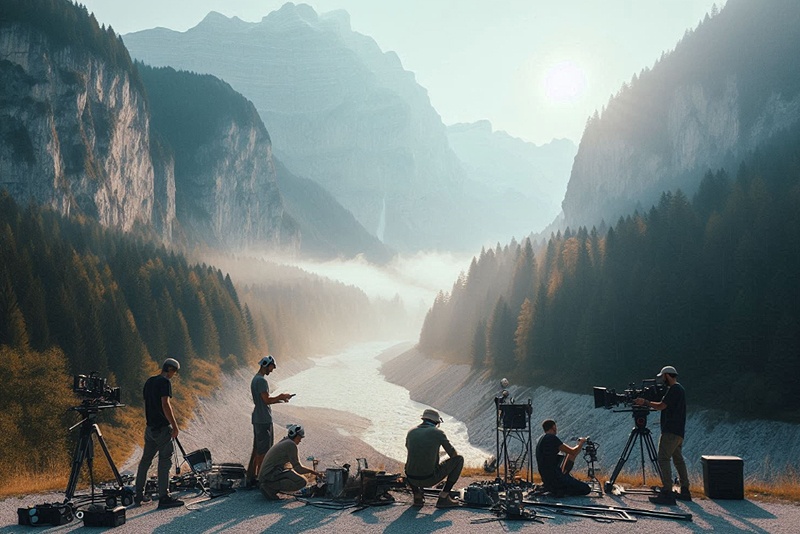
- DSLR Camera – DSLRs are sort of the jack-of-all-trades in the camera world. These digital cameras used to be intended for photos only, but in the last ten years or so, they’ve made excellent strides in improving the video capture quality. DSLRs allow you to swap out lenses, attach accessories like a hot mic, and record in 1080p and 4k in some situations. Check out the best DSLR cameras of 2021 here.
- Broadcast Camera – These behemoths are what most people think of when they think of a news crew’s camera setup. Broadcast cameras are large, powerful cameras that allow for a ton of customization and add ons, and are one of the best choices for live event coverage. These cameras are for professionals and are priced accordingly. Also, beware that learning to use one of these cameras will be much more intricate than something like a simple DSLR.
There are more camera options out there: camcorder, cinema, and more; these are the most popular options for streamers however.
After choosing a camera, you’ll need to make sure you have the proper microphone to capture clear audio. Just like with cameras, three types of microphones dominate the streaming market.
- Studio Condenser Mics – Studio mics are great for what they are intended for, a controlled studio situation. These mics are the best overall at picking up the clearest sound quality; but if your room is not acoustically prepared, then the interference and little noises the mic picks up could be distracting. To note how sensitive they are, a studio mic can pick up something as quiet as your water running or the refrigerator in the other room.
- Dynamic Studio Mics – Dynamic mics work a bit differently than condenser mics. Condenser mics tend to be more sensitive as already noted, so if you’re looking for a professional mic, but don’t have a professional studio, then a dynamic mic could be the fit for you. Dynamic mics are still top of the line when it comes to audio recording, they just are a step below a condensed studio mic, which is fine for most live streamers. Here are some of the best dynamic mics on the market right now.
- Lavalier Mic – A lavalier is a mic that is clipped to a subject’s body and can record omnidirectionally. That means it can pick up audio from every direction, instead of a controlled cone. Lavaliers are great for VR streamers or streamers who move around a lot. They’re also the least costly, but pick up the worst audio overall.
Whatever combination you decide on, make sure to dive in and learn everything you can about each device. Knowing little tips and tricks with your camera and mic can save you time in the future when setting up for shots, shooting footage, and even editing.
3. Prepare the Streaming Room
After choosing your camera and microphone, you’re well on your way to starting your first live stream. To better guarantee the quality of your stream is the best it can be, we recommend thoroughly preparing your streaming room. Improving both the appearance and the bones of the room will only make your live stream that much better.
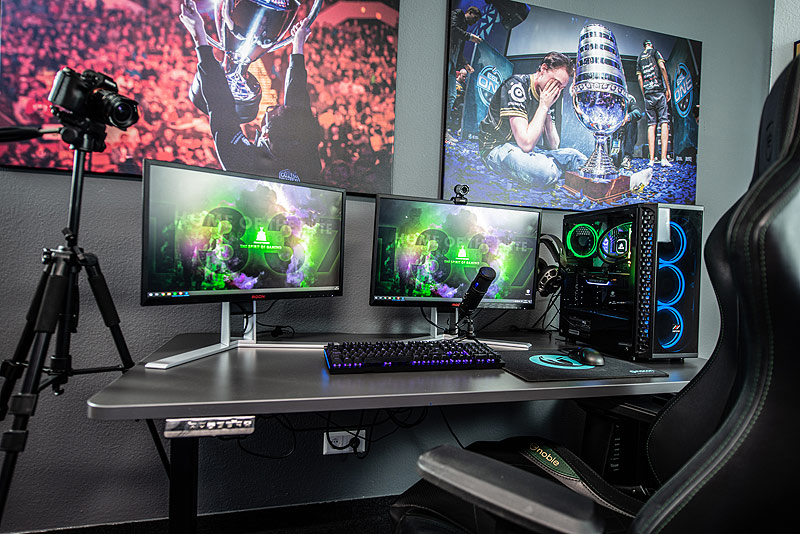
One of the first things you’ll want to do in your room is to choose the area that you’re going to stream from. After you pick out the spot in your room, you should be able to start visualizing how things will come together. Most streamers set up a nice desk against a wall that has another flat wall behind them for the backdrop. When choosing where to put your desk, be sure to look along the wall for adequate outlet space nearby.
Now that your desk space is picked out, it’s time to work on lighting. First, if you have any windows at all in the room, you will need to get commercial blackout curtains to prevent light from coming in (curtains are better than blinds in this situation as the material is better at dampening any outside noise as well). After blacking out the windows, it’s time to purchase some lighting. Most streamers use a key light, which is a light source that is located behind the camera and fills the subject. Outside of a key light, you may want accent lighting or background lights around the room as well. Do keep in mind that all the temperatures (color) of your lighting should be the same.
Last but not least, we need to soundproof the room. Using simple acoustic pads, like ones used in a recording studio, can do wonders when trying to dampen noise in and out of the streaming room. Besides soundproofing your walls, you may want to install heavier doors, soundproof your ceiling if you have an upstairs, and put down rugs and carpets to better conceal sounds from the floor.
Besides the camera and microphone, preparing the room will be the biggest expense when streaming. If you want to create your streaming room, but are on a budget, something like a personal loan could be exactly what you need. Getting your streaming room together will be an ongoing and costly process. This really just scratches the surface of what you can do in your room. Some other things you can do are: repaint the room (try to include a green wall so you can do green screen effects), rewire the room, and decorate the room.
4. Improving Connection and Security
Now that the room is prepared for streaming, you’re almost ready to start! Before you put yourself out there, it would be a good idea to check how good your internet connectivity is, do some stream tests, and improve the security of your network.
First and foremost, when live streaming on a platform like Youtube or Twitch, you’re putting trust in those companies with your sensitive information. If something like a security breach happens, streamers’ information will likely be the first ones compromised as they’re the money makers for these platforms. To prevent the fallout from these security breaches, we recommend using a VPN, having some sort of firewall in place, and using a password management system.
Besides security breaches from the platform itself, you need to be wary of what’s going on in the comment section of your chat. Bots and scam accounts can flock to comment sections sharing links and files that are malicious. Be sure to never open a file you don’t trust and regularly moderate the comment section on your streams.
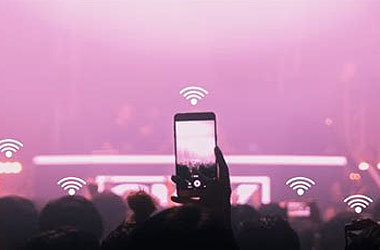
Security isn’t the only technical thing you need to check and improve before officially streaming. Your internet connection is likely going to need an upgrade when you start live streaming regularly. When you’re selecting what streaming platform to host your content on, look to their streaming requirements and recommendations to see what upload speed range your connection needs to fall between for maximum quality. You can check those upload speeds here.
If you have been connecting to the internet wirelessly from another room, that will need to stop when live streaming. You should be hooked directly into your router, which should be in the room that you are streaming in if possible. If you are unsure of how to move your network, don’t worry. We’re experts in both commercial and at-home network management and Wi-Fi installation. We can help reconfigure, or put in an entirely new network at your home. Our installation process brings a professional feeling to the home setting. As your stream grows, having a dedicated WiFi team there to help you will be important.
—
Now you’re ready to start streaming. Whatever that may be, music, video games, cooking, etc., remember to have fun and be yourself. Too many people get into streaming to make money first, without having a passion for what they’re doing. Get out there and do what you love to do and people will watch. Having the right gear and setup is half the battle!