- Conduct a wireless site survey
- Use a controller to manage access points
- Choose the correct access point placement
- Keep ethernet cable under 328 feet when connecting access points
- Use the correct access points for indoor and outdoor use
- Pick the correct channels for your access points
- Pick the correct power settings for access points
Covering a large area with WiFi often will require multiple access points. Unfortunately it’s not as simple as just placing a wireless router on every floor or in areas where you want a stronger signal. There are best practices that need to be followed when deploying multiple wireless access points on the same network. You need to make sure that you are creating a solution to your problems rather than just creating an even bigger mess.
Overlapping WiFi access points can create issues on your network. These issues are just as bad as not having enough wireless access points on your network. It is important to understand and follow the recommended best practices. Almost all technology is pretty black and white and leaves very little to no room at all for interpretation. There are right ways do do things and there are wrong ways, with almost nothing in between.
WiFi uses radio signal on the 2.4ghz and 5ghz band to extend network connectivity to end user device. Both of these frequencies have a limited range. This could result in negative internet experience for end users. Structures such as walls, staircases, elevators, metal ducts and even our own bodies weaken WiFi signals at astonishing rates. (We recommend Ubiquiti Dual-Radio PRO Access Point![]() for most home WiFi networks)
for most home WiFi networks)
Have you ever wondered why your WiFi quality decreases drastically when you move from room to room or outside of your office or house? It is because the building materials between you and your access point are wreaking havoc on your wireless signal. If it’s confusing, below is a quick primer on how to measure WiFi signal and how certain building materials will impact it.
Understand WiFi Signal Strength & Impact Of Building Materials
There is a free app on the Apple and Android app stores called WiFi Analyzer. Download this app to measure the strength of your WiFi signal in your office or home. We measure WiFi signal strength in milliwatts but as that measurement can get a bit complex with very large, confusing numbers. We instead elect to use dBm (decibels relative to a milliwatt). A high dBm is -30 and this would translate to excellent signal strength, while a low dBM is -120 which is essentially a dead zone. You would want your WiFi signal to be between -60 dBm and -40 dBm. In many commercial instances the standard acceptable signal strength would be -50 dBm and above.
Let’s say you’re standing right by your access point and your signal strength is -40 dBm and you start moving past various structures in your office building. You’ll notice that your WiFi signal is gradually worsening and sometimes dramatically when you pass certain walls or structures
Your WiFi Network Can Be Slightly Impacted By Glass
Many offices choose to set up glass walls to separate conference rooms or individual offices. This modern aesthetic looks awesome but has a negative impact on wireless signal propagation. A standard clear window will reduce signal strength by about -4db. This number increases if the windows are double or triple paned or are treated to deflect light or insulate. If you conduct video conferences over WiFi in your glass-walled conference room and are already dealing with weak WiFi signals, the -4db reduction could cause huge issues.
Sheetrock & Insulation Will Further Reduce Your WiFi Signal Strength
Most walls are made out of sheetrock and in and of itself it does not have a massive effect on WiFi signals, only about -2db. You’re not out of the wood yet as materials between the sheetrock such as foam insulation, metal wiring or other structures can reduce signal strength even further.
Wood & WiFi Do Not Get Along
Wood makes up the majority of framework for homes and older office buildings. Besides being in the walls, wood can often be used for flooring, doors, and furniture within the house. Wood can reduce WiFi signal strength by -6db and that number only gets worse depending on the thickness of the wood or its water content. Thicker wood can reduce WiFi signal strength by -20db or more.
WiFi Will Not Be Stable With Just One Brick Wall
Brick is typically dense and thick, and WiFi signal usually become unusable with just one brick wall between an access point and the end user device. Brick reduces WiFi signal strength by an astonishing -28db! The mortar that holds the brick together doesn’t help either.
Metal Obstructs WiFi Signals & Creates Serious Dead Zones
Most modern commercial buildings are comprised of metal building materials. Metal does not get along with cellular signals so naturally, it is an enemy of WiFi as well. WiFi signals can be reduced by metal by almost -50db! It is one of the most important elements to plan around when you want to set up multiple access points on the same wireless network.
Even in a perfect wide open environment with none of the structures mentioned above, there can still be elements that will impact your wireless performance and require you to set up multiple APs on your wireless network.
Outside Interference From Nearby WiFi Networks Negatively Impacts Yours
The signal from nearby wireless networks and access points can impact performance on your network. Access points on the same channel can affect your network performance and cause dropped connections or lost packets while using the internet.
Not All WiFi Access Points Are Made To Support Densely Populated Areas
Human bodies are the worst when it comes to WiFi signals. Our bodies are made of water and radio signals hate water. With a lot of bodies in one area, like what you would find in an open office setting, multiple access points are a must to make sure signals can spread properly and that the required capacities can be supported.
Multiple Wireless Access Points Best Practices
It’s clear that there can be many reasons why you would need to set up multiple wireless access points on the same network. The best step you can take is to hire a WiFi service provider like Made By WiFi to do the job for you but if you elect to take on the project yourself here are some best practices for you to follow.
1. Conduct a wireless site survey before setting up your WiFi
A best practice when setting up multiple wireless access points in any situation is to conduct a wireless site survey. The wireless site survey essentially takes all the guesswork out of your WiFi setup. It gives you a clear plan of attack on where you should mount your access points. Conducting a site survey also can help you figure out how you should configure your APs for the most optimal performance. Without a site survey, you are essentially going into your wireless network installation blind. This may create issues with overlapping access points and misconfigurations.
2. Use a controller to manage all of your access points
Wireless access point controllers come in many versions. Some are on-site controllers that live wherever your access points are deployed. Other controllers can be cloud-based and can be used to manage multiple access points across various separate locations. Controllers software can also live right on the access point itself. Regardless of what type of controller you use, the benefits are clear – the controller will let you control all of your grouped access points through one interface. You will be able to assign a single SSID and password to all of your access points instead of having to join different networks every time you move between rooms or floors.
The controller helps to keep order within your network as well. From automatic channel management to seamless roaming, the controller will make all the difference if you need to set up multiple access points on the same network. (Our recommendation is Cisco Air 2504 Wireless LAN Controller![]() )
)
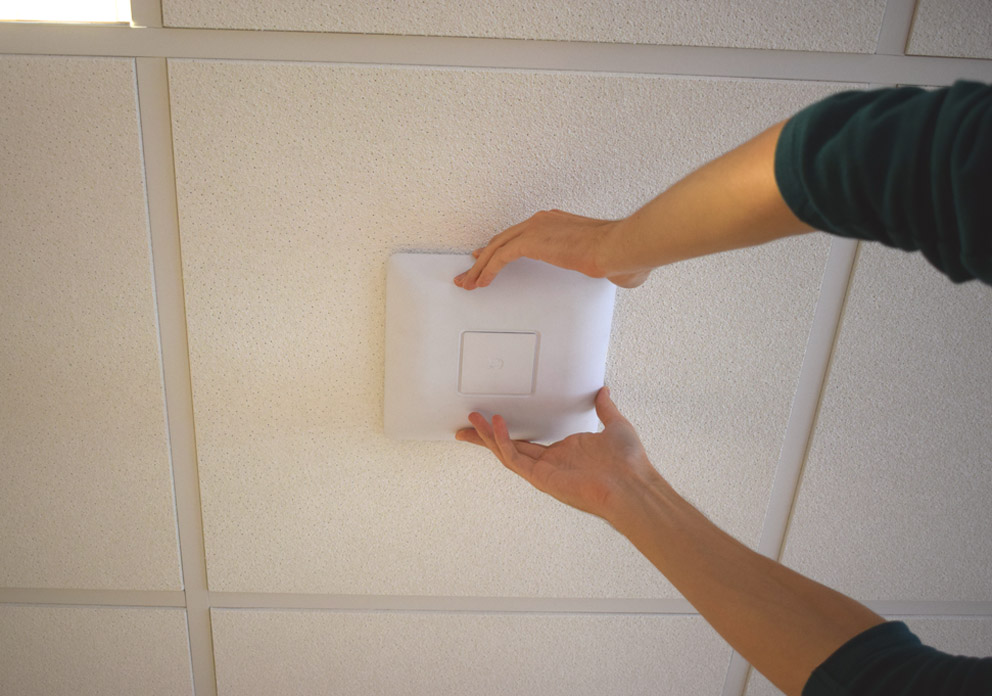
3. Choose the correct access point placement
The wireless site survey should help you figure out the ideal locations to place your access points. But perhaps you skipped that step and are winging it. The old method of placing access points is to position them in the center of every room where WiFi is needed. This approach could work but is definitely not the smartest method of installing access points, especially if your business heavily depends on WiFi to conduct its day to day operations.
The smarter approach is to place access points in the areas where WiFi will be used the most. First, you should address high-density areas which require strong wireless signals. After that, you can take care of the remaining areas where wireless coverage may not be as important. This approach favors capacity over coverage and is the trend that wireless network installations are moving in. Check out some tips for professional wireless access point installation in our prior blog post.
4. Keep ethernet cable under 328 feet when connecting access points
Now that you’ve conducted your wireless survey and figured out where to mount your access points you will need to run Cat5 or Cat 6 ethernet cable![]() to the access points. It’s very important that you keep these cable runs under 328 feet. This limits the risk of dropping packets which will negatively impact wireless internet performance. In fact, most wireless networking professionals limit cable runs to about 300 feet. We do this in order to accommodate the extra couple of dozen feet that may be needed for patching.
to the access points. It’s very important that you keep these cable runs under 328 feet. This limits the risk of dropping packets which will negatively impact wireless internet performance. In fact, most wireless networking professionals limit cable runs to about 300 feet. We do this in order to accommodate the extra couple of dozen feet that may be needed for patching.
If you do need to run a cable past 328 feet you’re not completely out of luck. You simply need an active component like a small, inexpensive switch that will live somewhere before the 300-foot mark and allow you to extend the cable run by another 328 feet. There are situations where you may need to run a cable for an even longer distance. In this case, you may elect to use fiber optic cable which can be run for several miles in some instances. It’s important to review the costs associated with these cable runs as well as they can get very pricey as the distances increase.
5. Use the correct access points for indoor and outdoor use
Your WiFi network may require some outdoor coverage. In instances like this, you should use outdoor access points to get the job done. It’s possible that wireless signal from your indoor access points may reach your outdoor areas and could be sufficient for your needs. Outdoor access points are able to ignore the elements and are resilient to most weather conditions and temperatures. We recommend Ruckus Wireless ZoneFlex T300![]() for outdoor use.
for outdoor use.
There may even be instances where you would use outdoor access points indoors. For example, inside a refrigerated warehouses where temperatures are regularly kept below the freezing mark. Another benefit of outdoor access points is that they are condensation resistant. They have internal heaters that allow them to withstand situations where indoor access points would have failed.
6. Pick the correct channels for your access points
Proper channel selection is essential for excellent wireless coverage. In most cases, you’ll want the access point controller to pick the correct channels for you. After all, this is what the controller is there for. When deploying multiple access points on the same network there is a chance that the coverage area from neighboring access points may overlap. Nothing wrong with this as long as the access points use non-overlapping channels. If the channels do overlap it could cause a situation where their access points interfere with each other. This can cause packet loss during browsing and a negative internet experience for those using your WiFi network.
If your access points are broadcasting on the 2.4 GHz band you have 11 channels that can be used. This provides for only three non-overlapping channels: 1,6, and 11. Because of this, you should not use the 2.4 GHz band for high-density WiFi deployments. The 5 GHz band offers much more selection when it comes to non-overlapping channels. It is the de facto favorite for high-density wireless deployments utilizing multiple access points on the same WiFi network.
7. Pick the correct power settings for access points
Access point power settings help dictate how large a coverage area each access point is responsible for. If coverage cells are too large and have major overlap with each other. It can cause roaming issue where devices stay stuck to access points that are further away. Even though there are access points nearby that have a stronger signal. By utilizing a controller, it’s likely that the power levels of the access points will be controlled automatically. However, in certain high-density deployments, some human intervention may be required in order to perform manual power selection. This is where the findings from your site survey come in handy. You’ll have the information you’ll need to fine tune the access points to your unique network environment.
Improve Your Multiple Access Point WiFi Network
There are many reasons why you would need to use multiple access points on your wireless network. Whether you’re trying to enhance coverage within your office space or support a larger capacity of devices, the 7 best practices in this blog will help you figure out the smartest approach to doing so. If you still need help, contact the wireless specialists at Made By WiFi for a professional wireless network consultation.